Pro Capcut Editing Tips and Tricks in 2023
If you want to edit your videos and looking for Capcut editing tips and tricks. Then this article is for you. We are witnessing the craze of sharing every moment on social media in 2023. These days not just professional YouTubers or Vloggers are using video editors to make their videos interesting and entertaining.
But every person has now stepped into the world of capturing and recording their moments, adding music, and posting on their walls. So to make these videos visually appealing you need video editors.
Capcut is an all-in-one video editor that has revolutionized the world of social media and online digital content creators with its unique and pro tools and features. But how to use it and effectively for that I have come up with the Capcut editing tips in 2023.
Table of Contents
What is Capcut?
Capcut is one of the most used and well-equipped video editing software. Capcut gives you full control to edit and increase the audio and video quality of your movies.
Whether you just want to remove unwanted parts or add music to your videos. It comes with royalty-free music and sound effects. Capcut has its library of assets and video templates.
With 1000+ filters and transitions, you can convert your videos into something unique and eye-catching.
Is Capcut MOD APK For Professionals Only?
The interface for Capcut users is well-designed which makes it easy to use by everyone. Whether you are a professional or amateur videographer with CapCut Editing Tips you can make your videos just like a pro.
You can import your projects and can save them in the online draft. Just sit anywhere and start editing your drafted project. It’s available for both Android and IOS devices.
Advance Capcut Editing Tips & Tutorials 2023
Since its first release, Capcut developers have introduced different versions of it including new and advanced features. With each version and update you are equipped with new advanced tools and features.
Here are those Capcut editing tips and Capcut tutorials in 2023 that will make you a pro and your videos unique.
1. Get Familiar With Capcut MOD APK User Interface
Explore the app and locate options and tools available to get familiar with them. Knowing each option and feature boosts your confidence professionally. Knowing the user interface is an important factor in Capcut editing tips.
2. Remove Capcut Watermark
If you are fed up with the watermark in your videos and want to remove it that is not happening with the free version of the app. Buy its subscription package from available options that suit you well.
Now you will have the watermark removed automatically from your videos when you will export them. Or you can download Capcut Mod Apk from the following link and enjoy exporting videos with no watermark.
The Caocut modded version is free of cost and will export your videos without a watermark just like paid version.
3. Overlaying Videos
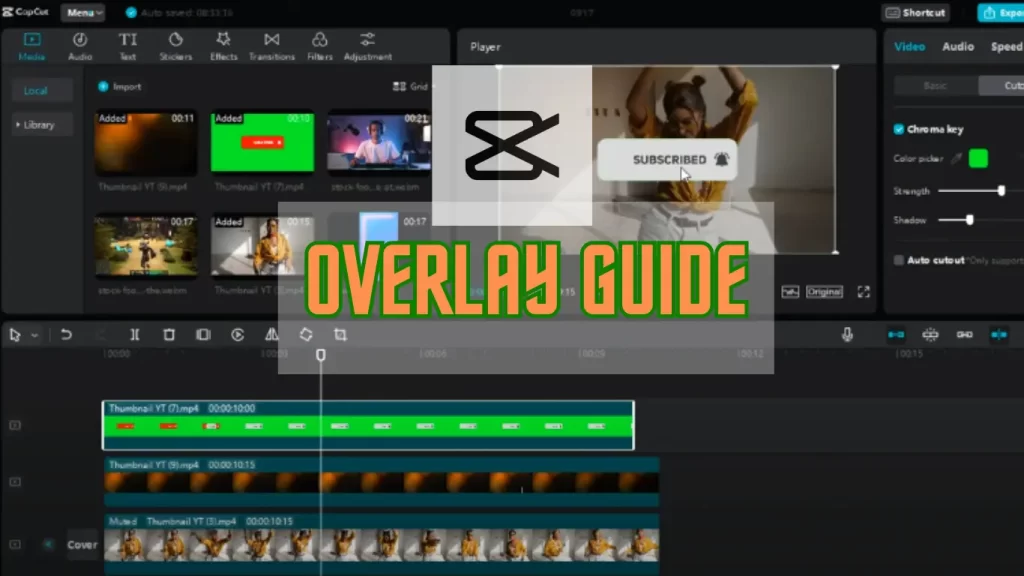
If you want to make tutorials or any other documentary or video where you want to overlay your video to another video that is called overlaying or you can also call it “picture in picture’’.
Overlay allows you to create your content more visually experiencing for example if you are making a documentary about a forest and showing its visuals and at a corner telling about what’s going on it will make more sense.
To do that you need to follow some steps.
- Import your new project and select both videos to upload them on the timeline
- Now select the video you want to overlay and drag it onto the other.
- Now to adjust the size of overlapped video select it on the timeline and drag it to adjust the size.
- After changing the size now drag it to set the position on top, left, right, or bottom of the screen.
- Now from the bottom menu choose the opacity option to set the transparency of the video.
- Now if you are done tap on the check option to save settings and export your video.
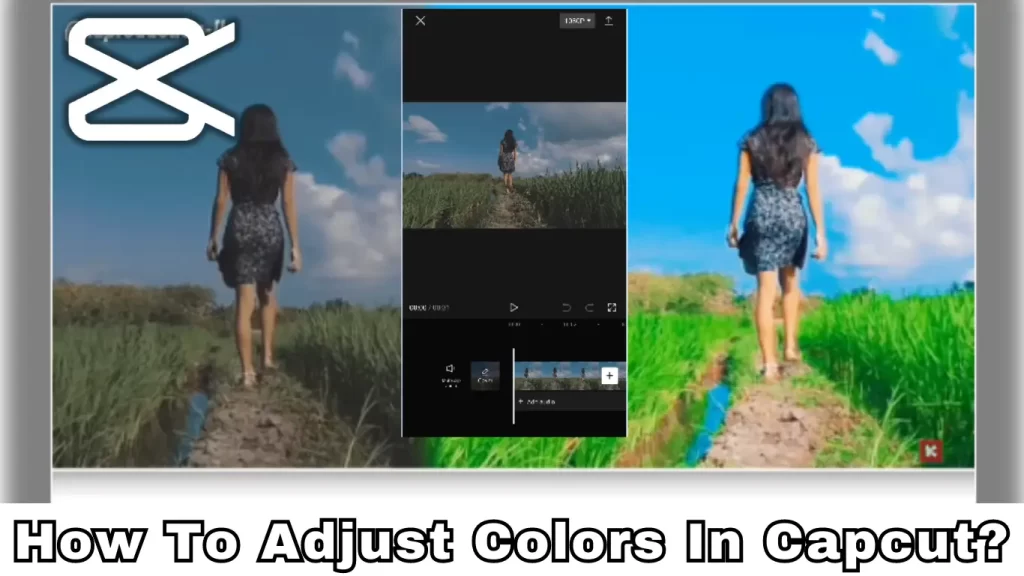
4. Color Grading
Different types of color settings make the visual appearance of the video completely change. Filmmakers use color full sets, lights, color filters, and color grading to achieve and control the colors of movies. To achieve such colors for your videos.
So if you want to achieve a specific color pattern for your videos consider color grading an important part of our Capcut editing tips. You can experiment with the color grading tools to get the desired results.
Let’s see tips for color grading in the Capcut video editor:
- Import a video as a new project in Capcut.
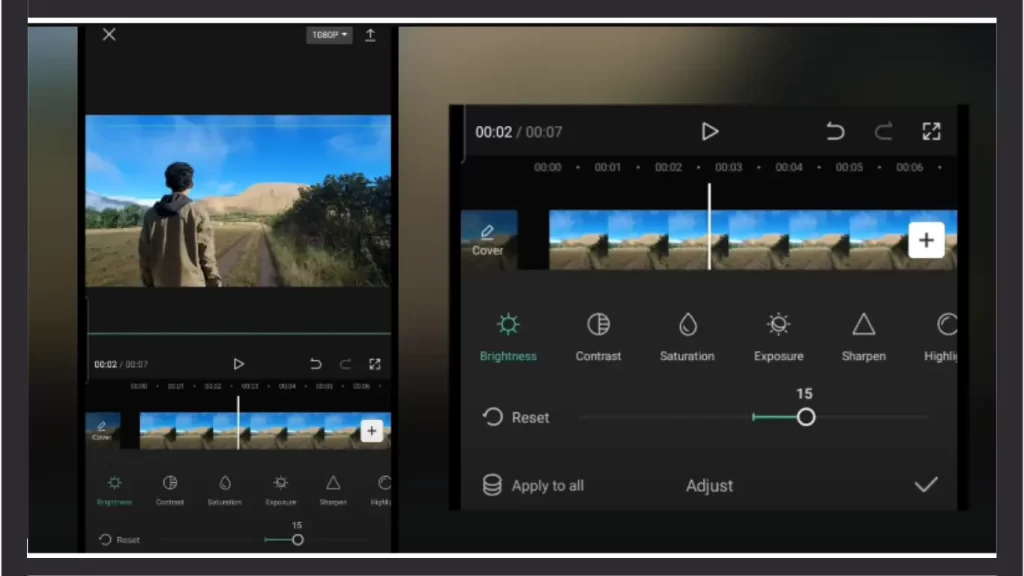
- Now from the bottom menu tap on the adjust options.
- In adjust option you will find filter and color adjustment options.
- If you want to add a filter click on filters to choose any filter. You can adjust the opacity of your filters as well.
- Or select adjust to make color adjustments to your video with or without a filter.
- You can set brightness, contrast, saturation, and exposure including hue, graph, temperature, and shadow of your video.
- After you have done adjustments use keyframe animation to animate your adjustments.
- This is the best way to have desired color adjustments.
5. Keyframe Animation
Keyframe is used to create your own customized animation by overlaying your videos on a timeline. You will be surprised to see the final results just like in a movie or ant commercial.
Keyframe animation helps you to animate and create dynamic effects to your video frame by frame in Capcut. It allows you to resize, select, rotate, and set the position and opacity of your animations.
In this Capcut tutorial of tips and tricks let’s see how you can use keyframe animation:
- First, upload a video you want to edit.
- Once it has been uploaded select the video on the timeline and click on the “keyframe” option.
- Now move the play head and define the initial position of your animation to start.
- Now adjust the size, degree, and scale of your animation by using your fingers on the screen.
- After that tap on the keyframe again and move the play head to a direction where you want to end the animation.
- Adjust the size, zoom scale, and degree of animation as u need them.
Tap on the done or check option once you are done with it.
6. Chroma Key- Green Screen Effect
The green screen effect is actually an effect to remove your backgrounds and change them to put emphasis on the subject. You may have seen them on weather casts, newscasts, or any other documentary videos or commercials.
Let’s see how it works.
- First, you need to open your Capcut app and upload your new video project and the video with green background.
- Now if you have uploaded your media files on the timeline. Select the actual video and click on the Overlay option from the bottom menu and click or tap on Add an overlay.
- Add the green screen video and scroll along the toolbar and select the “cutout” option.
- Once you have done it now click on the “chroma-key” option and select the green color using eyedropper the color picker from the menu.
- Now use the color opacity to reduce the transparency of the green color until it disappears leaving the subject behind.
- Adjust the smoothness and tolerance of the green color to remove any remaining color from the corners.
- For further animation go to the shadow option to add shadow and other animations etc.
- Adjust the size of the subject or overlayed video by tapping your fingers on the screen.
- Once you have done it click on the check option to save your settings and video to your gallery.
7. Zoom In Effect
Zoom in effect is very useful to highlight certain parts of your video. Whether you want a super fast zoom-in or slow-motion zoom in you can create it in Capcut.
We use keyframe animation to add different effects from one point to another and the zoom-in effect is one of them.
So let’s get started and see how it’s done in Capcut.
- Upload your video from the gallery and select it on your timeline.
- Now tap on the Keyframe option that looks like a diamond shape with a plus sign on it.
- Once you have selected the keyframe it’s time to place an initial point on your video for zoom In effect.
- Click anywhere on your video like the beginning or the middle of the video as a starting point and then click on the keyframe option again.
- Now it is time to define the end point of your zoom-in effect by selecting any part of the video where you want to end the effect.
- Now after defining the points pinch your fingers to create a zoom-in effect on the preview and stop when you decide to end the zoom.
- If you want to control the speed of your zoom-in effect just click on edit and use speed curves to create a fast or slow-motion effect.
Auto captions are one of the best features of Capcut as it saves time and makes your video more visually appealing and understandable. This way you can save time by shortening your video editing process more efficiently.
It creates automatic subtitles for your video and you can edit them manually by changing their size, position, and color.
- Import the video in a audio language for example english supported by the Capcut.
- Now Tap on the video you have uploaded to your timeline.
- Tap on the text option from the bottom menu.
- From the text menu Tap Auto Captions and choose from the video and start the process.
- Cacput has automatic speech detection technology. And it will recognize the voice and will create automatic subtitles.
- From the preview menu select the subtitles to adjust size, color fonts, and position on the screen.
- Make sure by viewing the video that all subtitles are good.
- Now export your video and you are all set. Now when you will play the video you can turn on or off the e subtitles of your video.
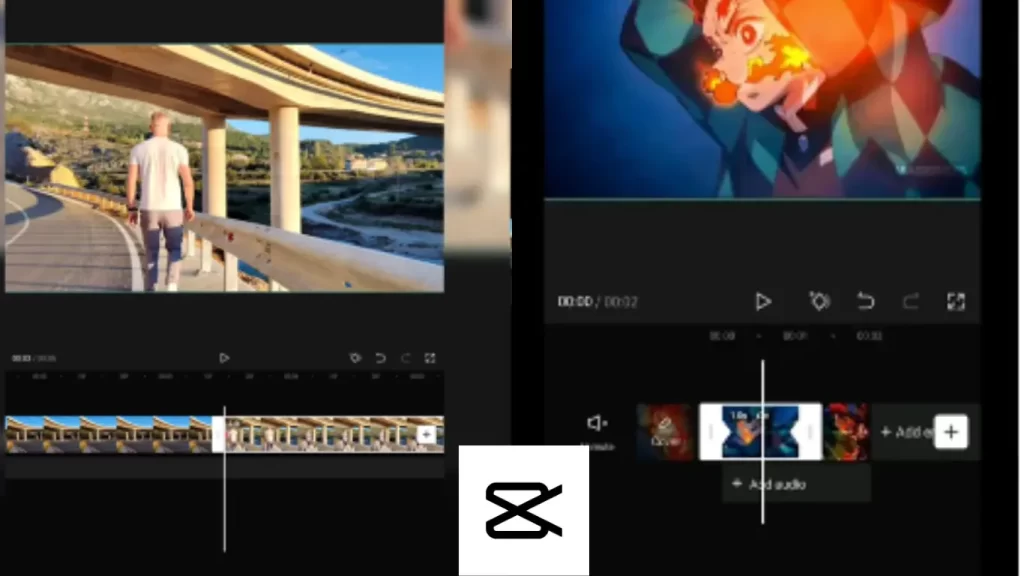
9. Cutting & Trimming
Cutting and trimming is an important feature of videography. It allows you to remove unwanted parts from your videos. You can remove unwanted parts from the beginning, middle, and from the end as well.
The process of cutting and timing is simple and very easy.
- First, select the video on the timeline.
- Now use handles at the start and end of the timeline to crop or trim unwanted parts from the initial and ending edges of your video.
- To cut any part in the middle play the video on time line and stop where you want to remove unwanted parts.
- Now click on edit from the bottom and tap on the split option. Click on the timeline again to highlight the split part with handles.
- Use these handles to trim video from any part of your video.
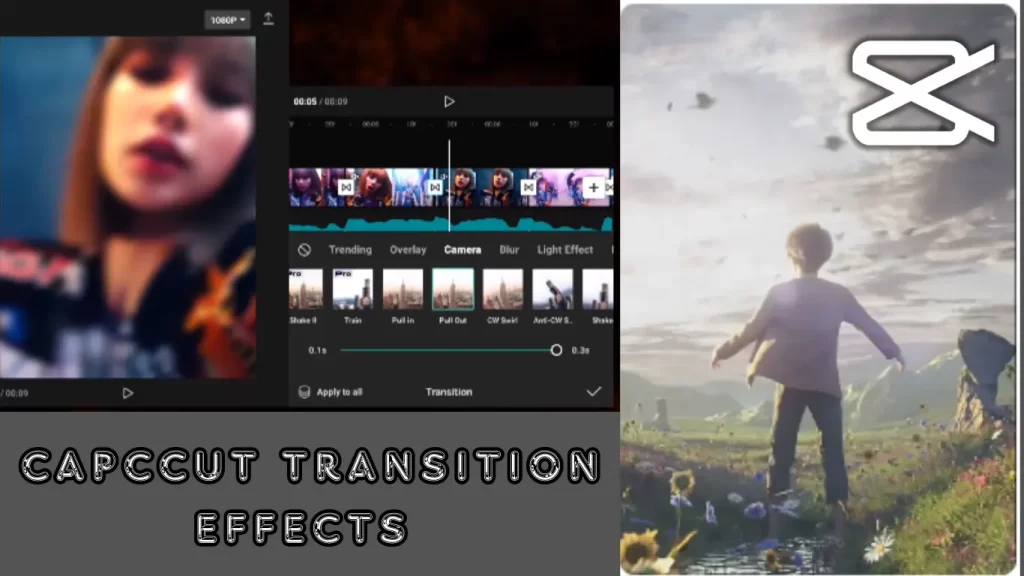
10. Transition Effects
Transitions are important after you have trimmed your videos to make the cut part smooth and unnoticeable.
There are lots of transition effects like fade in, fade out, wipe, up, down, or dissolve. Let’s get to the steps on how to add transitions or animations using Capcut.
Also, add two videos and add a transition between them to make the runtime smooth and eye-catching.
- Upload a video on the timeline.
- Select the video and make the necessary trim or cutting process.
- Now tap on the video on the timeline and you will see a small white box-like icon click on that to add transition effects.
- Now select transition effects from the menu.
- Adjust the time duration of the transition and click on the check mark to save the settings.
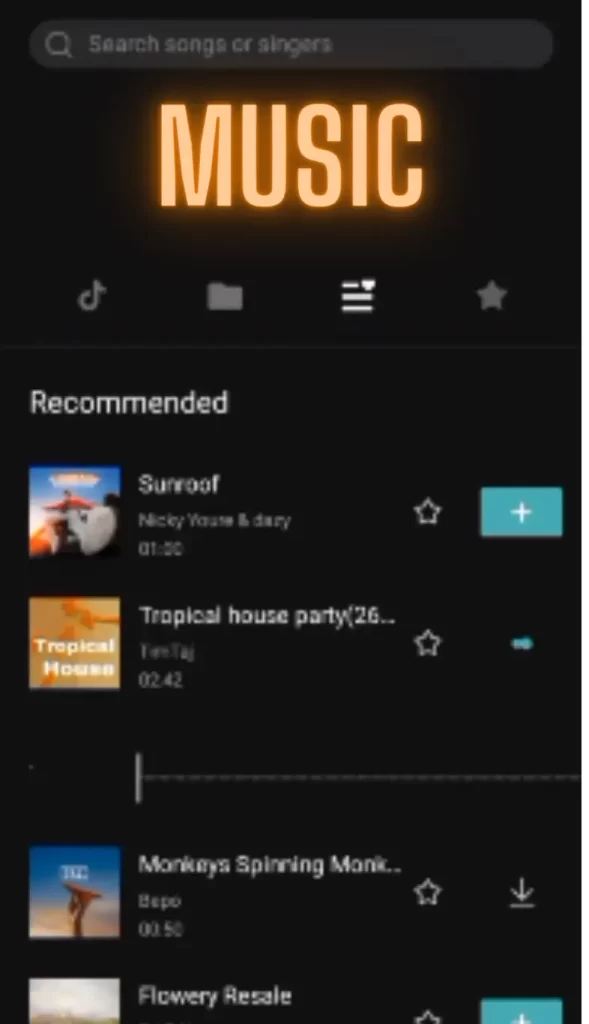
11. How To Add Music & Sound Effects?
There are thousands of music and sound effects available in the Capcut library. Or you can use your own music or sound effects by importing them on a timeline. These are used to make videos more entertaining and engaging with the audience. First, select any video on your timeline.
- These are used to make videos more entertaining and engaging with the audience.
- First, select any video on your timeline.
- Now click on the audio option from the bottom menu and you will be provided a few choices. To add music click on the sound option to download or export from your device gallery.
- To add sound effects click on effects instead of sounds and add different sound effects from the online library or import them from your gallery.
- You can use the voice-over or record option to dub your video in your own voice. Keep the music or sound under the video on the timeline and drag it to adjust its length.
12. Adjust Video Speed
To create a filmy touch and enhance video visuals you can use video speed curves to adjust the speed.
The speed option allows you to create time laps and slow or fast motion effects in your video.
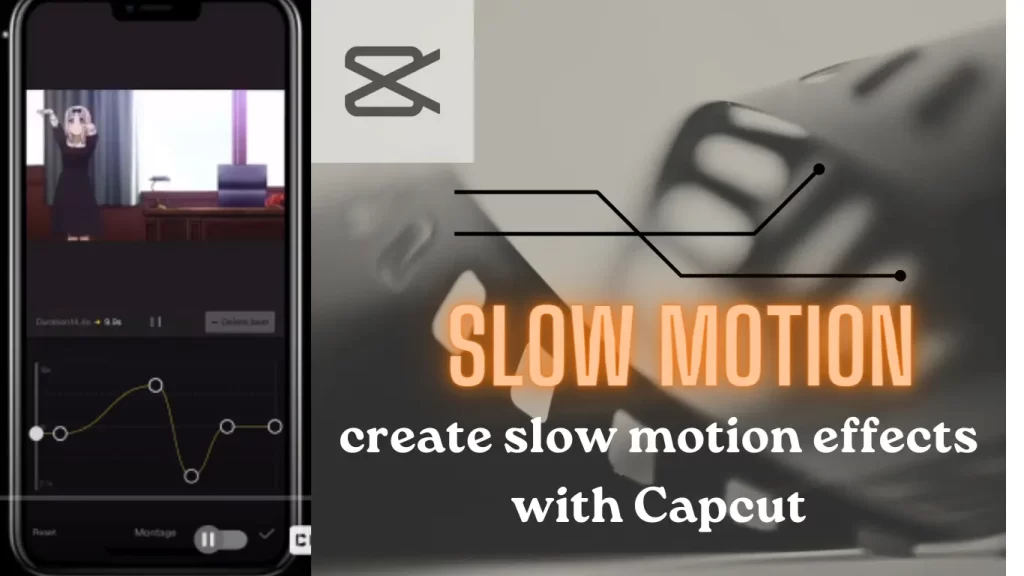
- Click on the video and select speed from the bottom menu.
- Use the normal or curve option to adjust the speed of our videos.
13. Using Text & Titles
Video is not just about pictures. Text and titles also play their part in making videos more entertaining and professional.
- You can add text and title from the text option under the timeline menu.
- Here you will find a few choices to add text and stickers.
- After writing the text adjust its position and animation on the screen by simply dragging it with your fingers.
- Click on the text to change its font, size, color, animation, and art effects.
- Now to save your settings click on the check mark.
14. Stickers & Emojis
Stickers and emojis make your videos cute and stylish. Tik tokers often use this feature to enhance their content quality.
- To add emojis or stickers just tap your video on the timeline.
- Under the timeline, you will see a text option.
- From the text option choose stickers to add stickers and emojis to your video.
- Adjust the position and size of these playful elements on the screen and check on the mark to save it.
- Now you can import the video to save on your gallery.
15. Convert Text Into Speech
If you want to add a speech to your video you can save time by using text to speech option in Capcut.
It allows you to drop your text on the timeline and it will automatically convert it into voice. This way you can save a lot of time.
- Use the text tool to add text to the timeline.
- Now adjust the length of the text under the timeline to sync it with the video.
- Now in the text tool tap on the text-to-speech option and select a tone that you want for your speech.
- You can use a male or female voice and click on the check mark.
- Now preview the speech to make sure it is okay and you are all set to save the video.
16. Masking & Blurring
Blur or mask your videos to hide a specific part and focus on other things in the video. You can also add cool effects like disappearing behind a pool or something like that using the mask tool.
- First, create a copy of your video on the timeline.
- Select the video on the timeline and tap on copy under a timeline to create a copy.
- Now overlay the copied video by tapping on the overlay option.
- Drag the overlay video and sync it with the original video on the timeline.
- Now go to the video effects and select the blur or mask option from the menu.
- Use different shapes like a circle or rectangular shape and adjust their size according to your need to hide a face or any part of the video.
17. Matching Video Cuts With Music Beats
To make your videos more entertaining always match your cuts in videos with changing beats in BG music.
Like showing pictures in a video with a flow of changing beats. Each beat brings up a new picture will create an amusing atmosphere.
Conclusion
Capcut is an all-in-one app that provides you with hundreds of new and amazing features and tools to create amazing and entertaining videos.
We are hopeful that our article will be very helpful for you in understanding the different CapCut Editing Tips and Tricks 2023. With these tips, you are now able to edit your videos at home like a pro.
FAQ’s
Just install it on your Android or IOS device and launch the app. Import any media file from your gallery and start editing with the option provided in the menu at the bottom of your timeline.